


How to Shoot and Edit Incredible GoPro Skiing Videos
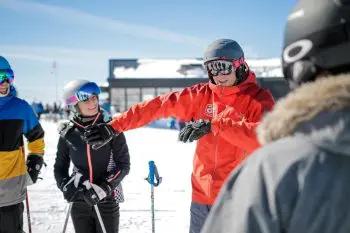
Next time you’re in line for the ski lift or standing at the top of the slope getting ready to start your morning lesson on one of our ski instructor courses, take a look around and mentally note how many people are wearing GoPro devices. It’s really quite staggering. You could arguably say the ski and snowboard industry is GoPro’s biggest market.
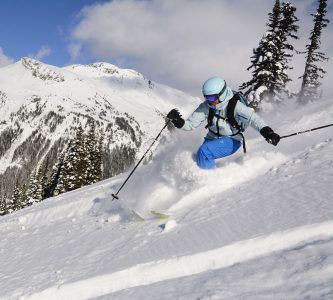
The GoPro camera system is particularly useful for skiers and snowboarders simply because it enables you to document your own moves. There’s no relying on someone else to record the video for you. You can capture a memorable ski run when you want and how you want without assistance.
If you’re interested in creating great videos while on the slopes this winter, a GoPro device or one like it is a wise investment – if you know how to use it.
You may have read our blog post ‘How to Take Great Skiing Photos You Can Be Proud Of.’ Today’s post takes it one step further with a comprehensive guide that can help you learn the ins and outs of making lasting memories while enjoying your favourite sport.
Camera Position
To begin with, get the camera in the right position. This involves mounting it in a variety of areas to get a combination of view points.
• Pole Mount. As one of the most popular and versatile of mounts, the pole mount allows you to place your camera on the end of a GoPole and capture content from a variety of distances and viewpoints. You can film yourself, or invert the camera upside down to film someone else.
Helmet Mount: This mount offers a unique viewpoint from the rider’s perspective. You see what the rider sees, and it’s especially useful in combination with a variety of other viewpoints.
• Chest Mount. Snowboarders won’t get much use out of this one, since their chests will be faced to the side, but skiers can come up with some pretty good forward footage. It shows exactly what happens in front of you, and is particularly handy for showing the pinnacle shot as you do a trick in the air.
• Boot/Board/Ski Mount. If you want a “ground’s-eye” kind of shot, mounting it to your boot, board, or ski is your best option. It provides a unique angle and can be used to show the view of the board as it glides on the snow, or inverted to show the full body of the rider. Be careful when attaching your camera to the board, since damage is more likely when it’s so close to the ground.
Must-Have Accessories
What’s a GoPro experience without the right accessories to make things easier? Consider adding these accessories to your packing list.
• The App. The app makes it easy to control settings and preview your shots straight from your phone. It uses Wi-Fi or data to connect your camera to your phone and show the viewpoint of the camera, so you can see where the camera is pointing before you take your video. It eliminates awkward, half-body shots that result when your camera is at an odd angle.
• Mounters. You’ll need a selection of mounting tools to get a variety of shots. Consider the GoPole, tripod adapters, head/helmet straps, adhesive mounts, scorpion mount, head swivel mount, and more. GoPro also sell a rather affordable helmet mount so that you can capture your ascent down the slopes in first person just like pro skier Candide Thovex in his latest viral video ‘One of Those Days 2’, above.
• Battery Packs. Even if you fully charge your battery before you hit the slopes, your charge may not last the entire day. A battery pack or two is extremely handy so that your camera doesn’t die in the middle of your prize-winning ollie.
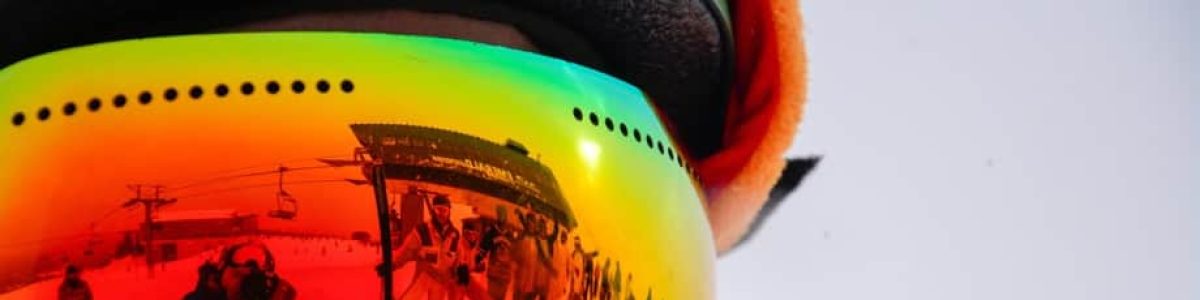
• Anti-Fog Inserts. Cold, humid conditions, like those you’ll likely find on the British Columbia slopes, cause fogging, and GoPro offers anti-fog inserts that protect your lens from fogging up while you ski.
Filming Techniques
Getting an amazing shot is about much more than positioning your camera just right. It’s also about knowing how to handle the camera as you go and focusing on the right angles.
• Point of View. The last thing you want is to show the same shot over and over again. A lack of variation is boring to say the least. To make awesome GoPro videos, use a combination of vantage points and angles, which will vary the footage and give you a collection of high-quality material.
• Focus. Unfortunately, simply pointing and shooting won’t deliver high quality videos. If you want a video that will wow your friends, pay attention to your framing. Each shot should have a clear focus on the whole subject’s body without distortion.
• Absorb Bumps. You won’t find a slope without bumps. Absorb them as you ride to avoid shaky footage.
• Note the Sun’s Position. The position of the sun can make or break a video. Try to film when the sun is beside you instead of above you or directly behind you. This will ensure the best lighting without an unsightly glare.
• Film Everything. It’s better to go home with 20 minutes of a shot than one. When it comes to ski and snowboard footage, you can always edit out the stuff you don’t want later, but you can’t get back an event you failed to get on film.
• Be Creative. Don’t be afraid to try new shots, even if it seems like it will never work. You never know what you’ll get, and it could be the best shot you ever make.
Editing Options

Finally, the secret to the amazing GoPro ski and snowboard videos you see on YouTube is great editing. Anyone can get amazing shots, but good editing is the mark of a successful video (don’t take my word for it – Olympic Star Julia Mancuso says much the same in the video above).
• Music. Your video set to a pumping beat may be all you need to make things perfect. It’s also a good idea to have the kind of music you’ll want to use in mind while shooting your footage. You could even listen while you ride to help set the tone for the entire video.
• Filters. High-quality filters can significantly improve a shot. GoPro and several other companies such as Snake River Prototyping offer great filters that can help you adjust lighting, colour, and more.
• Look Into Software. Most computers come equipped with simple editing capabilities, but if you want great photos and videos, look into specialist editing software. There are free options such as Apple’s iMovie, but these will only take you so far. For the step up, look at taking a course in higher-quality editors such as Final Cut Pro or Adobe’s Premiere Pro line.
• Slo-Mo. Doesn’t everything look cooler in slow motion, especially where skiing and snowboarding are concerned? Give that crippler an extra something and slow it down.
All you need to do now is grab your camera and hit the slopes.
But Wait…

If you feel your skiing or snowboarding isn’t yet at a level where you can really make some great videos, don’t worry. Alltracks Academy can help!
Our team of professional instructors is dedicated to getting you to the level of ski or snowboarding that you desire, whether that’s an amateur who skis for fun, or a professional looking to make and document amazing tricks.
For more information on how Alltracks Academy can help make this dream a reality, check out what we offer over here, or head to the contact page to get in touch and speak to one of our team today.
[contact-form-7 id=”253″ title=”Contact form”]


Comments
Jody Edwards says
James Ackland
Add comment
replies
Chris Hammond says
Mark Simons you need this!!
Add comment
replies
Mark Simons says
What I really need is one of these.... http://youtu.be/B_2ld8WDcsg
Add comment
replies
Nicky Anne Burgess says
Mark Tidridge
Add comment
replies
Carol Hetherington says
Your father has had dreams of getting one of these ever since Ron got one
Add comment
replies
Comments for this post are closed.