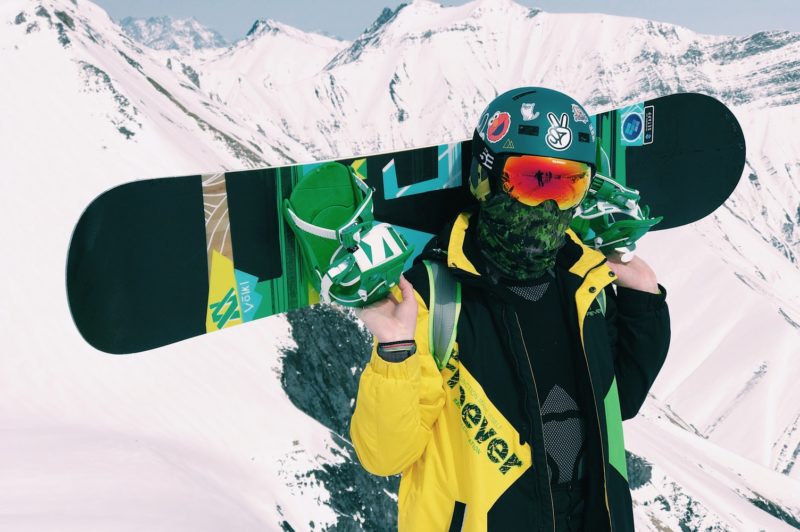
Waxing your snowboard is a crucial part of learning the sport and enjoying it to the max. It might seem like an annoying ‘upkeep’ part of snowboarding, but actually waxing your board is important for two different reasons…
Reason 1: Waxing your board ensures you fast, smooth riding. Why is this important? It allows you to be more experimental with techniques, it makes riding safer, and it means you can be riding to your best ability.
Reason 2: Waxing your board protects it, and increases its longevity. Meaning you get more riding time for your investment! With any expensive sports gear, you want to ensure you’re taking the best possible care of it.
There’s nothing quite as satisfying as having a freshly waxed snowboard on the slopes – and once you feel the difference, you’ll be convinced it’s worth the time and effort. We recommend waxing your snowboard once a week (if you’re a regular rider), once every fortnight if you’re only heading out a couple of times a week.
It may take a little time for the first few attempts, but once you have the routine of waxing down to an art, it’s something you’ll do out of habit, and won’t think twice about.
What do you need to wax your snowboard?
These are the must-haves for waxing your snowboard. Different people may use slightly different combinations, but generally, these are the items you’ll want to add to your equipment list.
You can get most of these things in snowboarding shops (in resorts), or you can easily order them online too. Choice is yours!
- Wax
- An iron
- Base cleaner
- A plastic scraper
- A structuring brush
- A cloth for polishing
Steps to waxing your board…
Following the steps below to a perfectly waxed snowboard!
- Remove (or loosen) snowboard bindings
Your bindings can conduct heat, so it’s pretty important to loosen or remove them before you take the iron anywhere near your board. This could burn you, or damage the board – neither of which are the ideal outcome here!
- Clean the base
Before you start waxing or ironing, you’ll need to make sure any dirt or old wax has been removed first. Snowboarding is an outdoor sport, so you’ll probably always need to remove a little dirt or grime from the underside of your board. There’s no point waxing a dirty board, so make sure this is done first and foremost! You can scrape off dirt using the ‘hot wax scrape’ technique, or you can use a base cleaner and a cloth – it’s up to you, and just a matter of preference.
- Melt and Iron
Using your iron, you now want to start waxing your snowboard. You can buy specific irons designed for snowboards, but household irons (just the regular ones you have at home) will do the job just as well. Just don’t expect to be ironing your trousers afterwards – because that won’t go down so well.
Once the iron is warmed up, you want to start melting the wax onto the board. Doing this is pretty simple, just hold the wax against the iron until the wax begins to drip in a liquid consistency onto the board. Once you can see the wax melting onto the board, you want to start moving the wax around the board using the iron. Make sure you cover all areas, including the edges (which will be the driest and need the wax the most). You should be aiming for a consistent and even coverage across the board.
Remember! Don’t hold the iron in one place for too long – the heat can burn and damage the board. Your ironing motion should be smooth but quick, you don’t want to linger in one place to long with the heat of the iron.
- Let the wax cool down
This usually takes around 30 minutes. So go have a drink and come back to it when it has all cooled down.
- Time to scrape
Once the wax on your snowboard has cooled, it’s time to scrape it off. Grab your plastic scraper, and hold it at a 45 degree angle. This is going to be the optimum position to scrape in long, continuous strokes. You want to go from top to bottom, removing any excess wax, and working as carefully as possible.
- Check the edges
Wax can gather at the edges of your board, so for best results you’ll want to check that your edges are all smooth and that there isn’t any build up or extra wax stuck to the sides. This can affect your performance on the slopes (if any build-up of wax is left on the board).
- Use your structure brush
Once you’ve finished checking your edges, the final step is to structure your base, using the structure brush. This helps to remove any excess wax, and is the finishing touch to ensuring a super fast, smooth ride when you hit the slopes.
- Enjoy your newly waxed board!
Once you’ve finished, head out onto the slopes and enjoy that ‘freshly waxed’ feeling. Your ride will feel smoother, faster and better – and you’ll be converted to keeping your board well-waxed all season long and ready to enjoy our slopes on one of our snowboard courses.